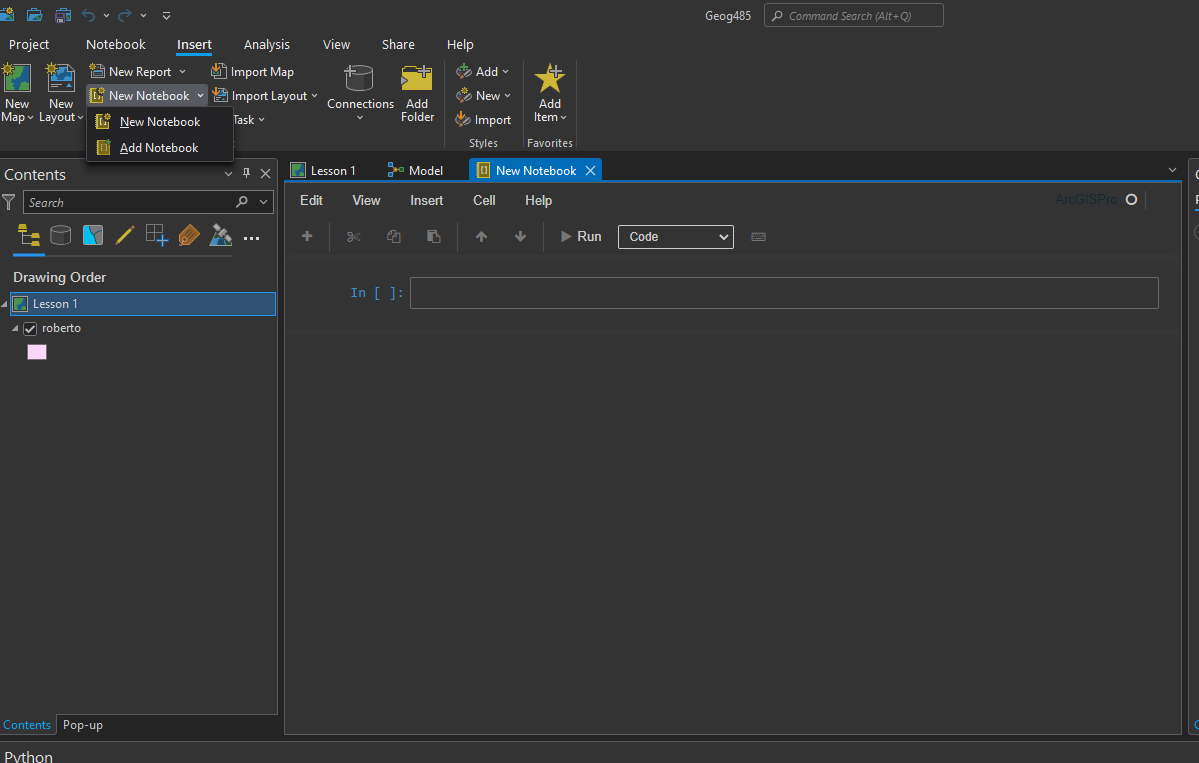
Juypter Notebook is already installed with the installation of ArcGIS Pro and can be launched from the ArcGIS folder in the start menu, or through ArcGIS Pro UI by going to Insert > New Notebook. The ArcGIS Pro notebook will open in the main window pane and from there, you can start writing code.
For this lesson, we will work with the default Pro installation following the steps here, but it is important to know that you can install a stand alone Jupyter Notebook through Anaconda.
The following discussion is mainly for the external, standalone notebook environment if you started the application from the ArcGIS start menu. The web-based client application part of Jupyter will open up in your standard web browser showing you the so-called Dashboard, the interface for managing your notebooks, creating new ones, and also managing the kernels. Do not worry if Pro’s Jupyter Notebooks environment does not match the images- these were taken from the Anaconda version but the process is mostly the same for Pro.
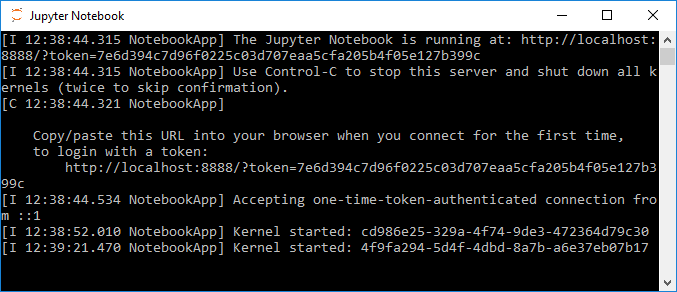
When you start up Jupyter, two things will happen: The server component of the Jupyter application will start up in a Windows command line window showing log messages, e.g. that the server is running locally under the address http://localhost:8888/.
Right now it will show you the content of the default Jupyter home folder, which is your user’s home folder, in a file browser-like interface (Figure 3.4 (b)).
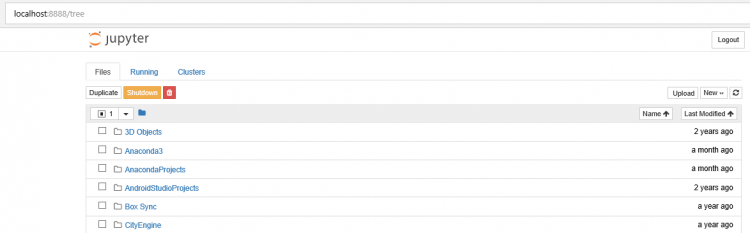
The file tree view allows you to navigate to existing notebooks on your disk, to open them, and to create new ones. Notebook files will have the file extension .ipynb . Let us start by creating a new notebook file to try out the things shown in the next sections. Click the ‘New…’ button at the top right, then choose the ‘Python 3’ option. A new tab will open up in your browser showing an empty notebook page as in Figure 3.5.
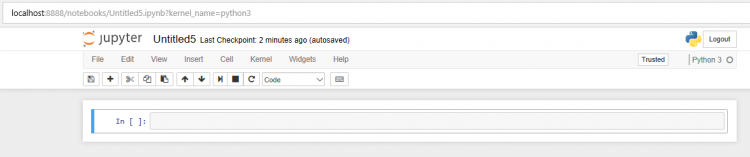
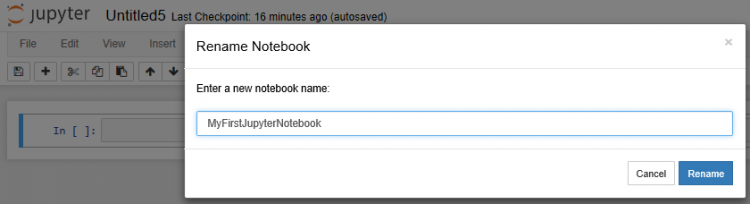
Before we are going to explain how to edit and use the notebook page, please note that the page shows the title of the notebook above a menu bar and a toolbar that provide access to the main operations and settings. Right now, the notebook is still called ‘Untitled...’, so, as a last preparation step, let us rename the notebook by clicking on the title at the top and typing in ‘MyFirstJupyterNotebook’ as the new title and then clicking the ‘Rename’ button (Figure 3.6).
If you go back to the still open ‘Home’ tab with the file tree view in your browser, you can see your new notebook listed as MyFirstJupyterNotebook.ipynb and with a green ‘Running’ tag indicating that this notebook is currently open. You can also click on the ‘Running’ tab at the top to only see the currently opened notebooks (the ‘Clusters’ tab is not of interest for us at the moment). Since we created this notebook in the Juypter root folder, it will be located directly in your user’s home directory. However, you can move notebook files around in the Windows File Explorer if, for instance, you want the notebook to be in your Documents folder instead. To create a new notebook directly in a subfolder, you would first move to that folder in the file tree view before you click the ‘New…’ button.

We will now explain the basics of editing a Jupyter Notebook in the next section.
Portions of lesson content developed by Jan Wallgrun and James O’Brien